If you're planning a roof replacement, understanding what lies ahead can make the entire process feel smoother and far less stressful. From the initial inspection to the final cleanup, knowing what to expect helps you plan ahead, avoid surprises, and stay in control of the project.
A roof replacement may sound overwhelming, but with a clear timeline and the right preparation, homeowners can move through the process with confidence. Below is a step-by-step breakdown of what typically happens during a roof replacement, along with practical tips to help you prepare.
Understanding the Roof Replacement Timeline
For most homes, a full roof replacement can be completed in one to three days. However, the exact timeline depends on several key factors:
- •Roof size and complexity: Larger or more complex roofs take longer to complete.
- •Material choice: Asphalt shingles install quickly, while metal or tile requires more time.
- •Weather conditions: Rain, wind, or extreme heat can delay progress.
- •Permits and inspections: Local requirements may add time between phases.
Because weather and site conditions can change quickly, it's always smart to build a small buffer into your schedule.
Step-by-Step Roof Replacement Process
Day 0: Inspection and Estimate
The process begins with a professional inspection. Contractors evaluate your roof for damage, leaks, ventilation issues, and structural concerns. You'll receive a detailed estimate outlining materials, costs, and scope of work.
Day 1: Material Delivery and Site Preparation
Materials are delivered and staged near your home. Crews protect landscaping, outdoor items, and surrounding structures. Dumpsters are placed to keep the site organized and safe.
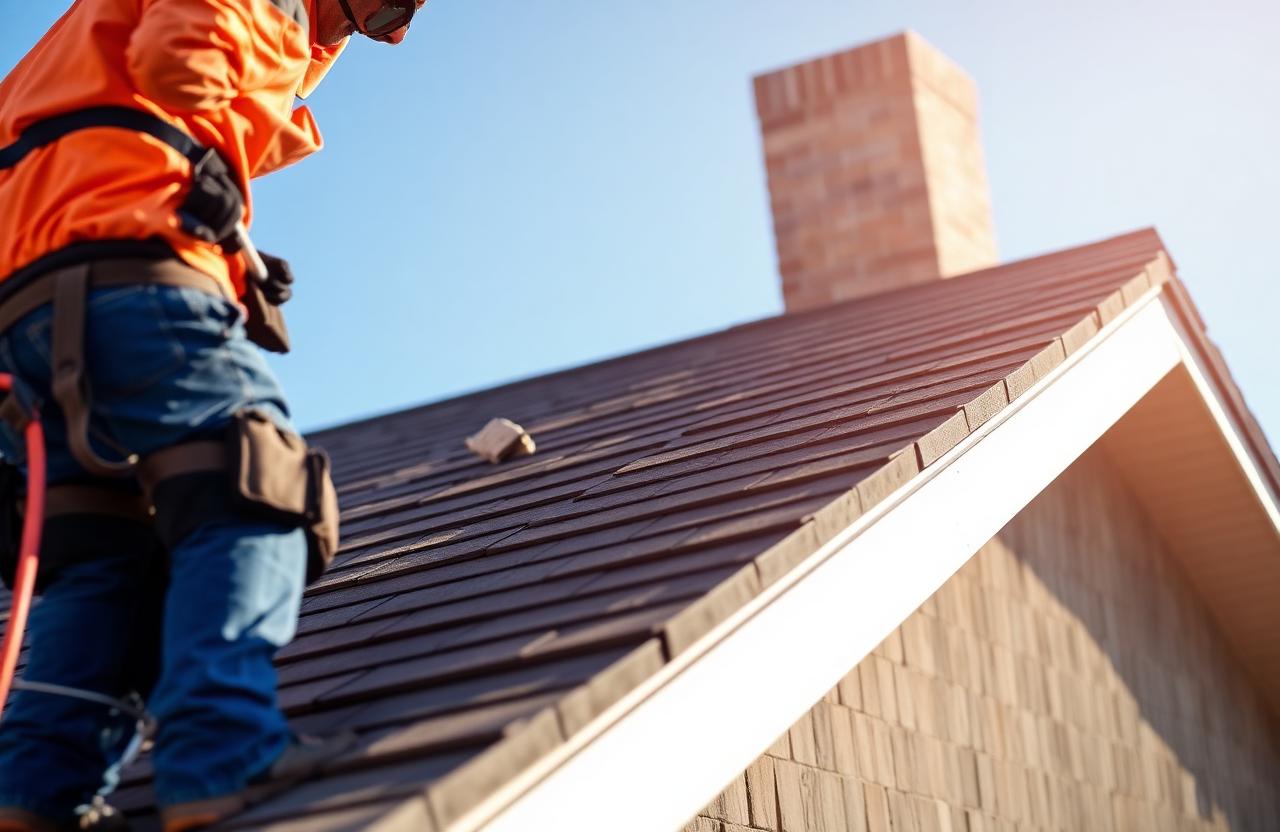
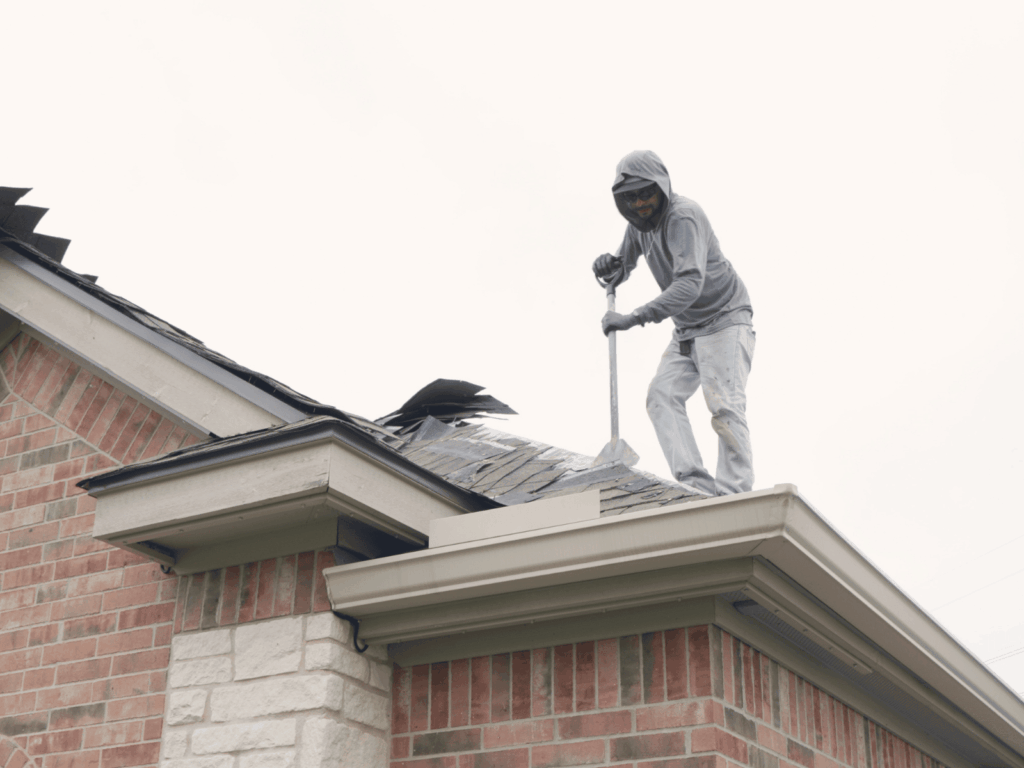
Day 2: Tear-Off and Deck Inspection
Old shingles and materials are removed to expose the roof deck. Contractors inspect for hidden damage and replace any compromised wood. Protective barriers like underlayment and water shields are installed.
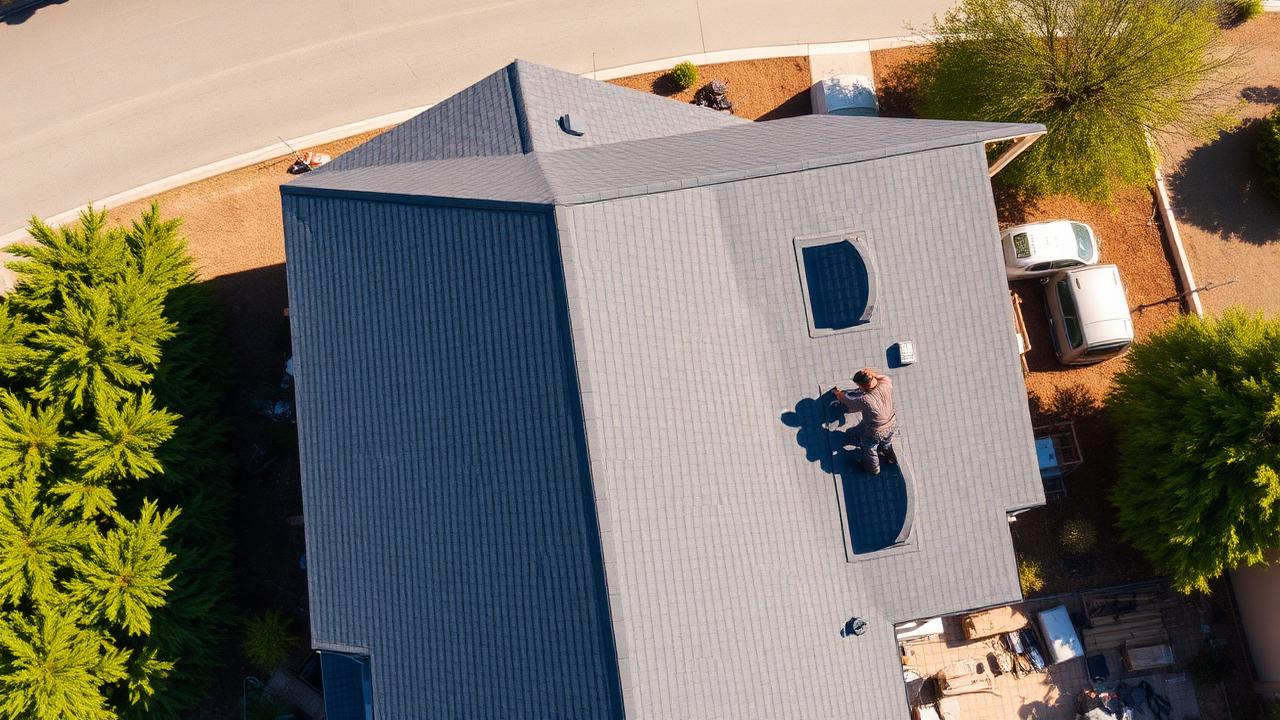
Day 3: Installation and Ventilation
The new roofing system is installed, including underlayment, flashing, and shingles. Ventilation systems may be upgraded to improve airflow and energy efficiency.
Day 4: Cleanup and Final Walkthrough (If Needed)
Crews perform a thorough cleanup, removing debris and using magnets to collect nails. A final walkthrough ensures everything meets expectations and allows you to ask questions.
How to Prepare Before Your Roof Replacement
Proper preparation helps your project run smoothly and protects your home during construction:
- •Move vehicles: Keep driveways clear for materials and equipment.
- •Remove outdoor items: Protect furniture, grills, and decor.
- •Secure interior spaces: Vibrations may affect wall hangings and attic items.
- •Notify neighbors: Give a heads-up about noise and activity.
- •Plan for kids and pets: Roofing work can be loud and disruptive.
Roof Replacement Tips for Homeowners
- •Choose the right season: Spring and fall offer ideal conditions.
- •Select impact-resistant materials: Better protection against storms and debris.
- •Upgrade ventilation: Improves energy efficiency and roof lifespan.
- •Understand warranties: Know what's covered and for how long.
- •Compare estimates: Evaluate multiple contractors before deciding.
Common Challenges and How to Avoid Them
Even well-planned projects can encounter issues. Here are a few common challenges:
- •Unexpected damage: Hidden structural issues may require additional repairs.
- •Weather delays: Sudden changes can pause work temporarily.
- •Material delays: Availability may affect scheduling.
Working with an experienced contractor and maintaining flexibility helps minimize these risks.
After the Job: Final Checks and Peace of Mind
Once your new roof is installed, take time to review the finished work. Ensure cleanup is complete, understand your warranty details, and keep documentation for future reference.
A properly installed roof not only protects your home but also improves its value, efficiency, and long-term durability.
Final Thoughts
A roof replacement doesn't have to be stressful. With a clear understanding of the timeline, proper preparation, and the right contractor, you can approach the project with confidence and achieve a smooth, successful outcome.